Generate OG images for blog posts
When sharing an article on social media you will see a preview. The preview uses the html og:image meta tag. In this
article I will demonstrate how I generate a unique og:image for each of my blog posts.
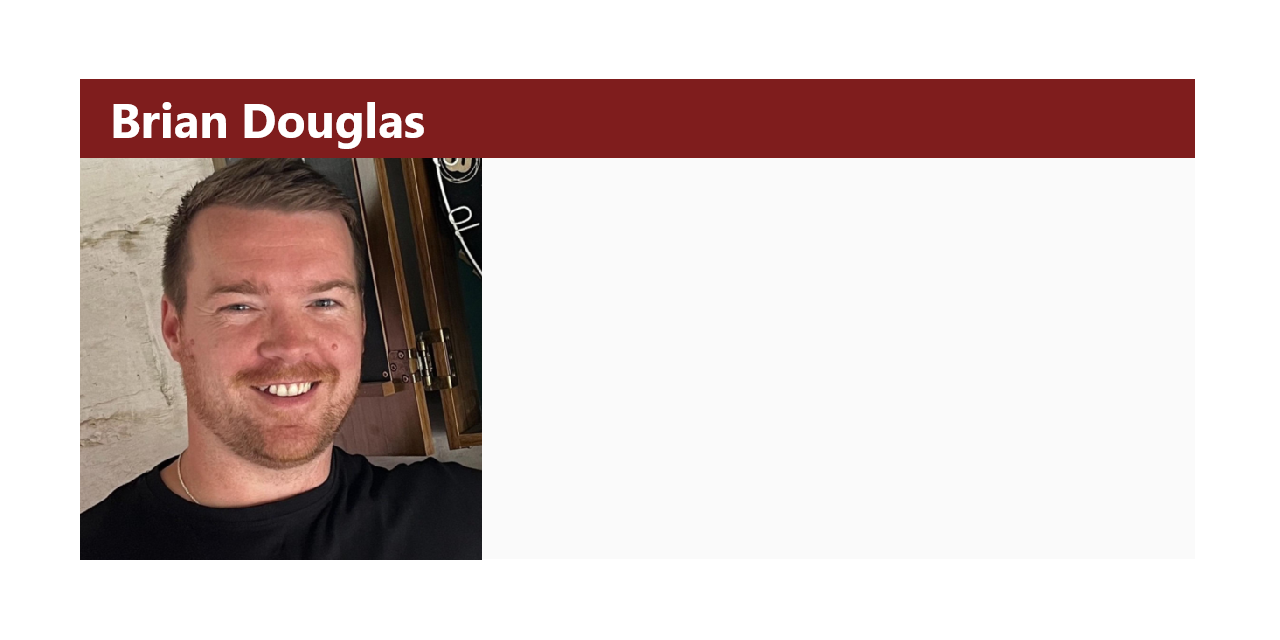
The general gist here is that we want to create a method that will take the title of our post and generate an image with that title text. We will use a template image to place the text into. The template image I use is shown below. Note the empty space on the right hand side, this is where we will place our blog post title. As recommended by github I have also left and 80px margin around the content. The dimensions of the image are 1280x640 pixels.

The Implementation
In order to write the title of our blog post to the template image we will use the npm package PureImage. This package allows us to use the canvas api to draw to a context which we can then export as an image, without loading up a browser instance.
- Create a template image that you want to write too
- Install the PureImage package
- Load the desired font intro PureImage
- Draw the text on to the template image using a PureImage context
- Output the new image to the desired location
Gotcha 1 - Loading the font
The first gotcha when using PureImage is that there are no fonts loaded by default. So in order to draw text to our image
we must first load the font like so.
import * as PImage from "pureimage";

const OUT_DIR = "./docs/images/og-images";
const FONT = PImage.registerFont(
  "C:\\Users\\brian\\AppData\\Local\\Microsoft\\Windows\\Fonts\\JetBrainsMono-Bold.ttf",
  "MyFont",
);

FONT.loadSync();
This will load the required font so that we can use it when drawing on our image template.
Gotcha 2 - Wrapping the text
The second gotcha is that because we are using the canvas api to draw text, it will not wrap unless we specifically tell it to do so. To get around this I have used the below method. This is actually a common issue when making browser games using the canvas. So I was expecting to encounter the problem.
function wrapText(ctx, text, x, y, maxWidth, lineHeight) {
  const words = text.split(" ");
  let line = "";
  let testLine, metrics, testWidth;

  for (let n = 0; n < words.length; n++) {
    testLine = line + words[n] + " ";
    metrics = ctx.measureText(testLine);
    testWidth = metrics.width;

    if (testWidth > maxWidth && n > 0) {
      ctx.fillText(line, x, y);
      line = words[n] + " ";
      y += lineHeight;
    } else {
      line = testLine;
    }
  }
  ctx.fillText(line, x, y);
}
Putting it all together
Here is the code I use to generate my OG images. It's specific to my use case, but I feel that you, a talented software engineer, will be able to extract the bits you need.
The main domain specific things here is that my Post class looks something like this.
type Post = {
    slug: string
    html: string
    excerpt: string
    data: { title: string, date: string, tags: string[] }
}
With that in mind here is the full implementation.
import * as PImage from "pureimage";
import * as fs from "fs";
import path from "node:path";

const OUT_DIR = "./docs/images/og-images";
const FONT = PImage.registerFont(
  "C:\\Users\\brian\\AppData\\Local\\Microsoft\\Windows\\Fonts\\JetBrainsMono-Bold.ttf",
  "MyFont",
);

FONT.loadSync();

export async function generateOGImage(post) {
  const pImage = PImage.make(1280, 640);
  const ctx = pImage.getContext("2d");
  const image = await PImage.decodePNGFromStream(
    fs.createReadStream("./theme/assets/images/open-graph-template.png"),
  );
  ctx.drawImage(image, 0, 0);

  const text = post.data.title;
  const maxWidth = 700;
  const lineHeight = 80;
  const x = 520;
  const y = 270;

  ctx.font = "80px MyFont";
  ctx.fillStyle = "black";
  wrapText(ctx, text, x, y, maxWidth, lineHeight);

  if (!fs.existsSync(OUT_DIR)) {
    fs.mkdirSync(OUT_DIR);
  }

  await PImage.encodePNGToStream(
    pImage,
    fs.createWriteStream(path.join(OUT_DIR, `${post.slug}.png`)),
  );
}

function wrapText(ctx, text, x, y, maxWidth, lineHeight) {
  const words = text.split(" ");
  let line = "";
  let testLine, metrics, testWidth;

  for (let n = 0; n < words.length; n++) {
    testLine = line + words[n] + " ";
    metrics = ctx.measureText(testLine);
    testWidth = metrics.width;

    if (testWidth > maxWidth && n > 0) {
      ctx.fillText(line, x, y);
      line = words[n] + " ";
      y += lineHeight;
    } else {
      line = testLine;
    }
  }
  ctx.fillText(line, x, y);
}
The Result
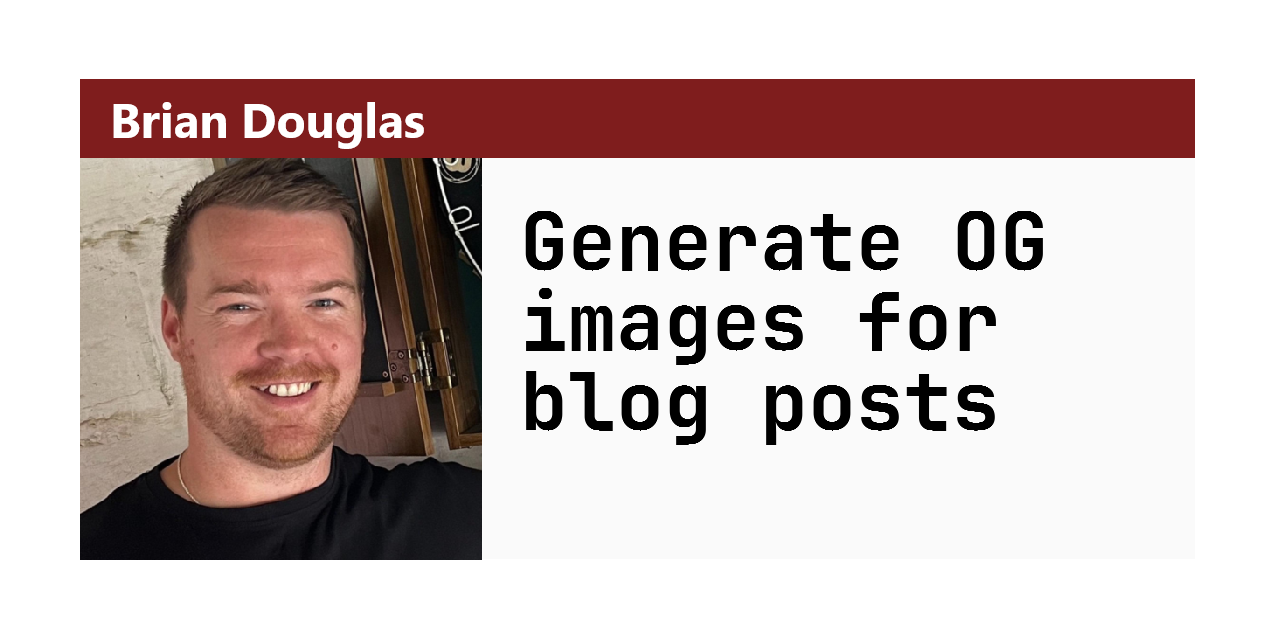
Now we can call generateOGImage(myPost) and it will generate a unique og image for the supplied post. The supplied
post's title will be drawn on the image. Using this code on the blog post you are currently reading will generate the
below image.

Unfortunately as you can see from the image, the library we used (PureImage) isn't great at rendering fonts. So the font
looks a little choppy. Potentially a different library would do a better job. Alternatively we could use a tool like
webdriver.io or selenium to render the template as html and save it as an image which may yield better results. For me
however, the current implementation will suffice.