

GameDev in C Part 2: Raylib
This installment mimics the previous, in that most of time is spent trying to get a fiile to build. Luckily though, this was much quicker.
Having done the impossible last time round and made a C file compile. This time I was tasked with adding an external library. The library in question is raylib which I will be using to develop a game. I've used raylib before with C# and really enjoyed it. The process for adding it as a dep there was much more straight forward. Anyway, here is my experience setting up raylib with C.
The installer
Raylib comes with a windows installer. It's available on itch.io.
I started off by downloading this and running the installer. Installing raylib
locally at C:\raylib. This was the easy part. Now I had to figure out how to
make it available to my C file.
Adding raylib to make
I was aware that raylib needed to be included somehow, and I was fairly sure that
doing it via make was the best idea. But before I jumped into that I added the
following example to my main.c file.
#include "raylib.h"

//------------------------------------------------------------------------------------
// Program main entry point
//------------------------------------------------------------------------------------
int main(void)
{
    // Initialization
    //--------------------------------------------------------------------------------------
    const int screenWidth = 800;
    const int screenHeight = 450;

    InitWindow(screenWidth, screenHeight, "raylib [core] example - basic window");

    SetTargetFPS(60);               // Set our game to run at 60 frames-per-second
    //--------------------------------------------------------------------------------------

    // Main game loop
    while (!WindowShouldClose())    // Detect window close button or ESC key
    {
        // Update
        //----------------------------------------------------------------------------------
        // TODO: Update your variables here
        //----------------------------------------------------------------------------------

        // Draw
        //----------------------------------------------------------------------------------
        BeginDrawing();

            ClearBackground(RAYWHITE);

            DrawText("Congrats! You created your first window!", 190, 200, 20, LIGHTGRAY);

        EndDrawing();
        //----------------------------------------------------------------------------------
    }

    // De-Initialization
    //--------------------------------------------------------------------------------------
    CloseWindow();        // Close window and OpenGL context
    //--------------------------------------------------------------------------------------

    return 0;
}
This is pretty much the "Hello, World!" of the raylib world. It displays a simple window with a message.
The problem I had now is that if I ran make build I would get this error:
main.c:1:10: fatal error: raylib.h: No such file or directory
    1 | #include "raylib.h"
      |          ^~~~~~~~~~
Meaning that gcc couldn't find the raylib header to include it. This meant updating the Makefile.
The working Makefile looks like this:
CC = gcc
CFLAGS = -I"C:\raylib\raylib\src"
LDFLAGS = -L"C:\raylib\raylib\src" -lraylib -lgdi32 -lwinmm

build : main.o
	gcc -o build.exe main.o $(LDFLAGS)

main.o : main.c
	gcc -c main.c $(CFLAGS)

clean :
	powershell Remove-Item *.exe, *.o
The issues that I ran into were figuring out what LDFLAGS to include. I had initial only -lraylib.
Which didn't work. The solution was found in the raylib docs.
Once the correct flags were added and make build had run succesfully I could launch the build.exe.
Which generated this beautiful screen.
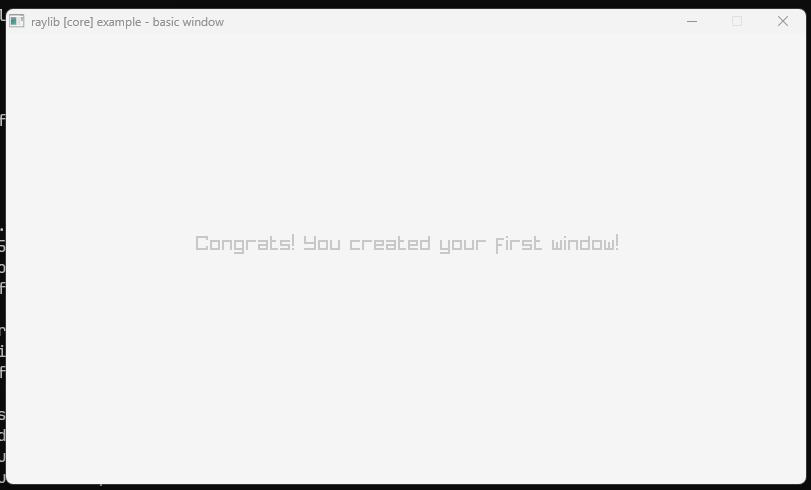
Now I can start building a game!